Save Water with a Drip Irrigation System for Gardens
Drip Irrigation System for Gardens Efficient Garden Irrigation Tips
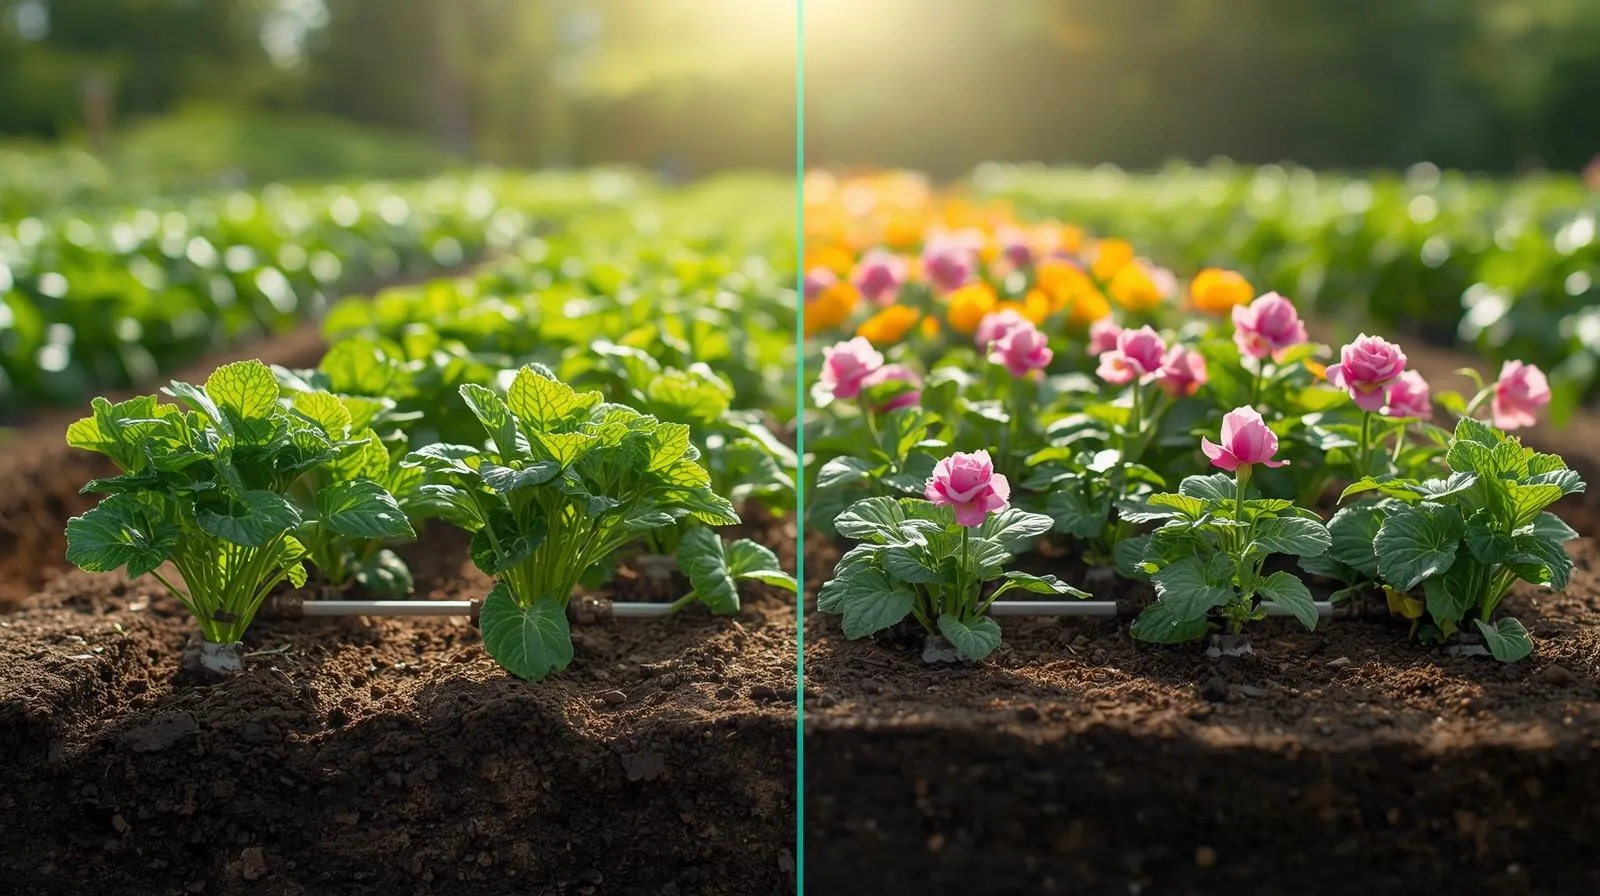
A drip irrigation system is a smart way to water your garden. It delivers water directly to the roots of plants, reducing waste and keeping soil consistently moist. Garden irrigation with drip systems saves time, conserves water, and encourages healthier plant growth.
Why Use a Drip Irrigation System?
- Water Efficiency: Provides water directly to plants, minimizing runoff.
- Promotes Healthy Roots: Encourages deep root growth and reduces disease.
- Reduces Weed Growth: Water targets plants, not surrounding soil.
- Time-Saving: Automate watering with timers.
- Cost-Effective: Less water usage means lower bills.
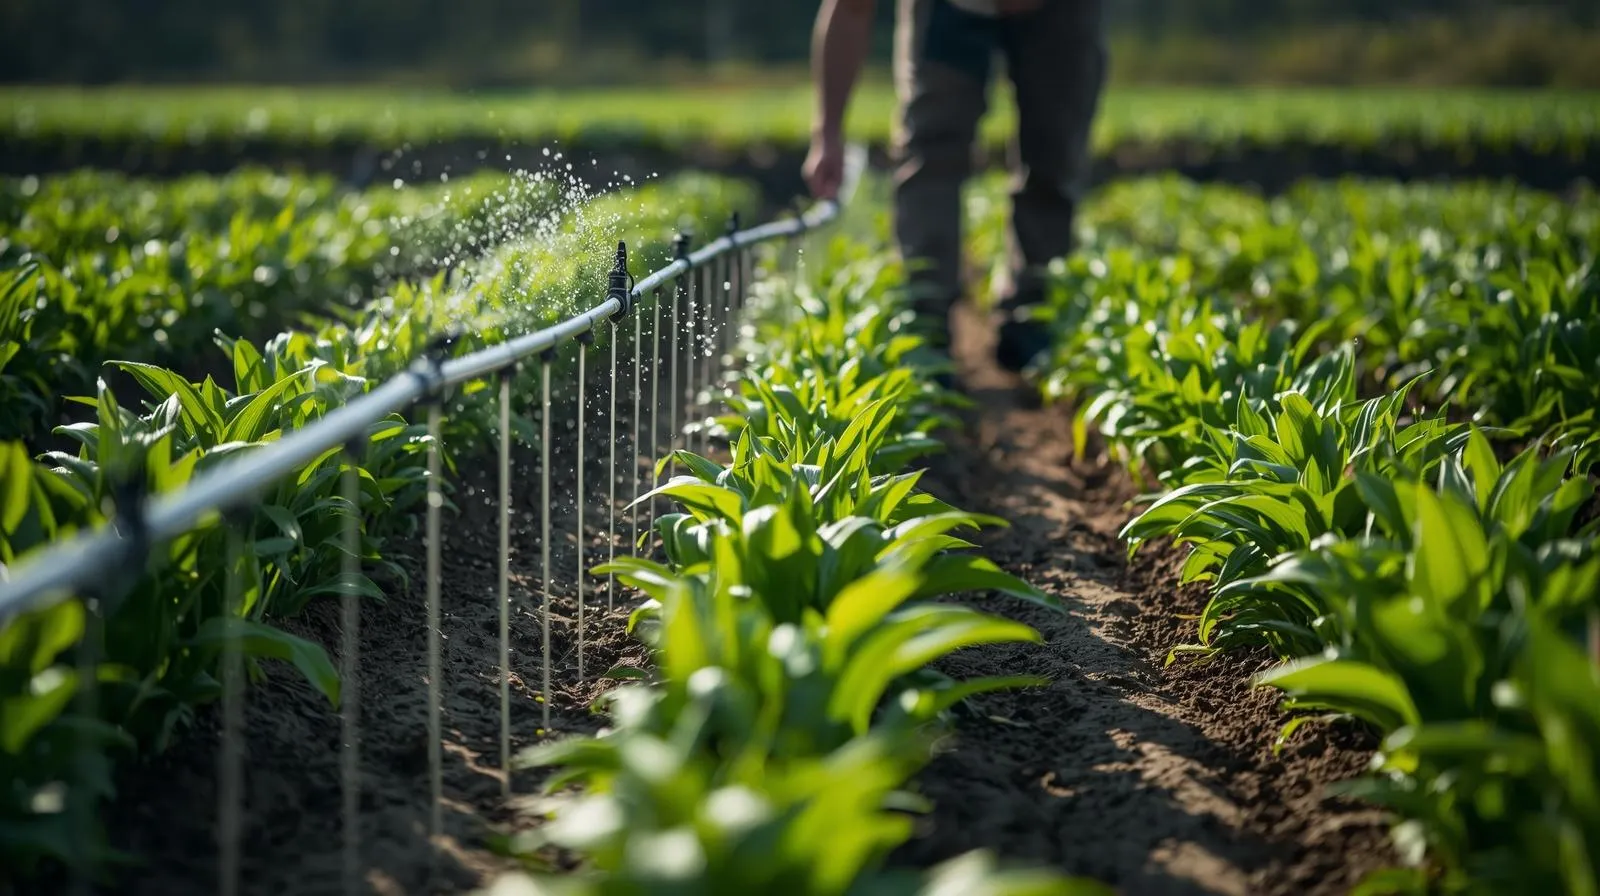
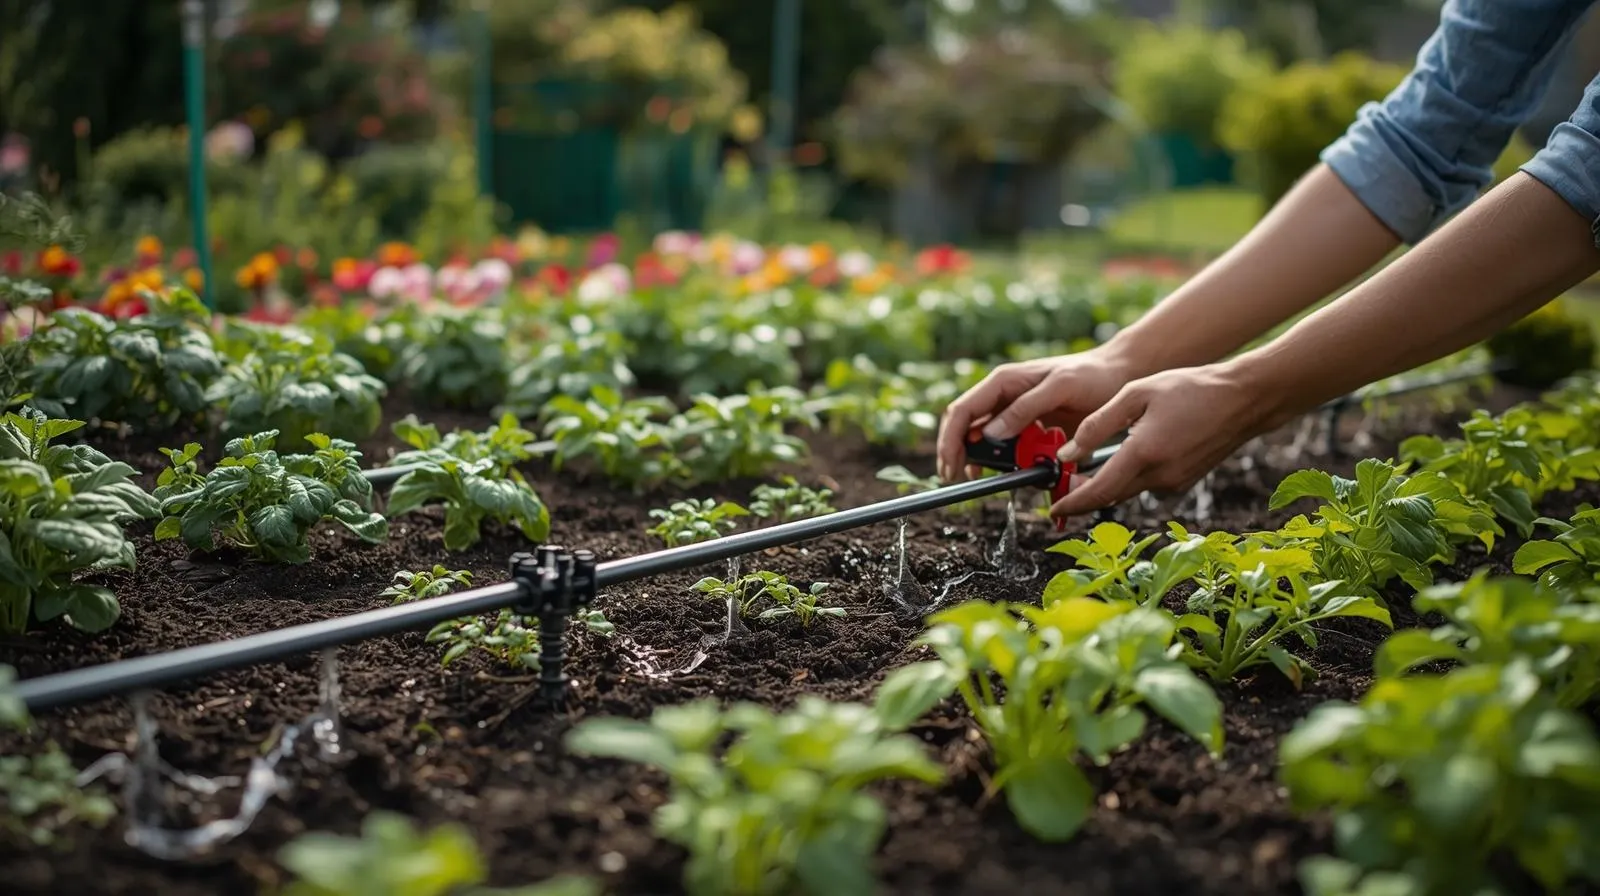
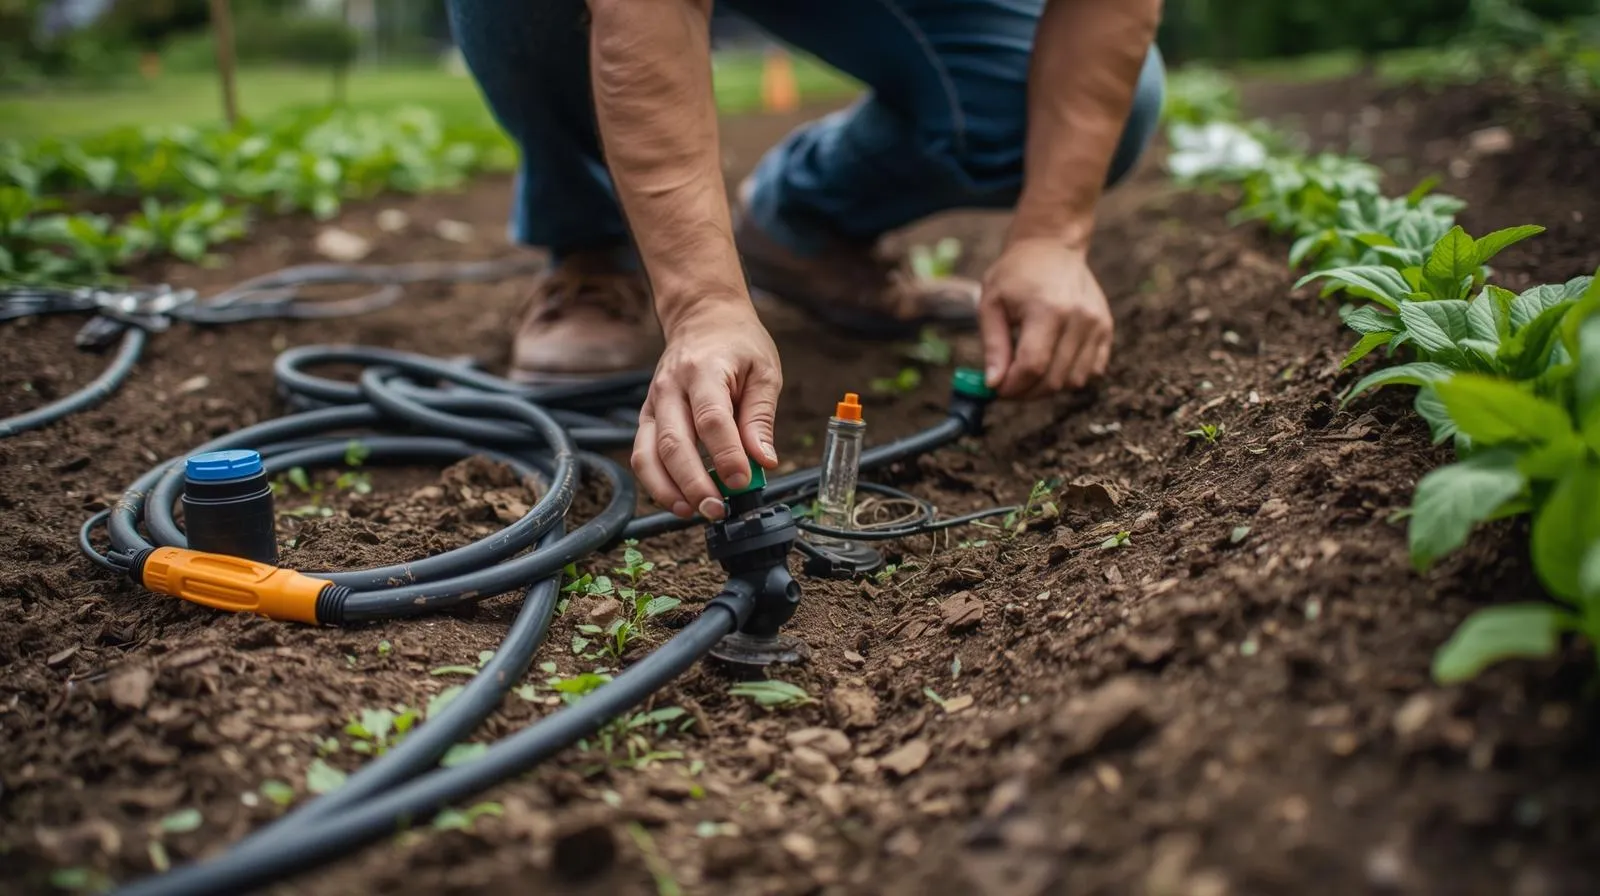
Components of a Drip Irrigation System
- Main Supply Line: Connects to a water source.
- Tubing or Hose: Carries water to plants.
- Emitters or Drippers: Deliver water slowly to roots.
- Filter: Prevents clogging in tubing and emitters.
- Timer (Optional): Automates watering schedule.
Benefits of Drip Irrigation for Garden Irrigation
- Conserves Water: Up to 50% less water than traditional sprinklers.
- Improves Plant Growth: Consistent moisture encourages healthier plants.
- Reduces Soil Erosion: Gentle water application prevents washing away soil.
- Adaptable: Works for vegetable gardens, flower beds, shrubs, and trees.
- Low Maintenance: Minimal upkeep compared to sprinklers or hoses.
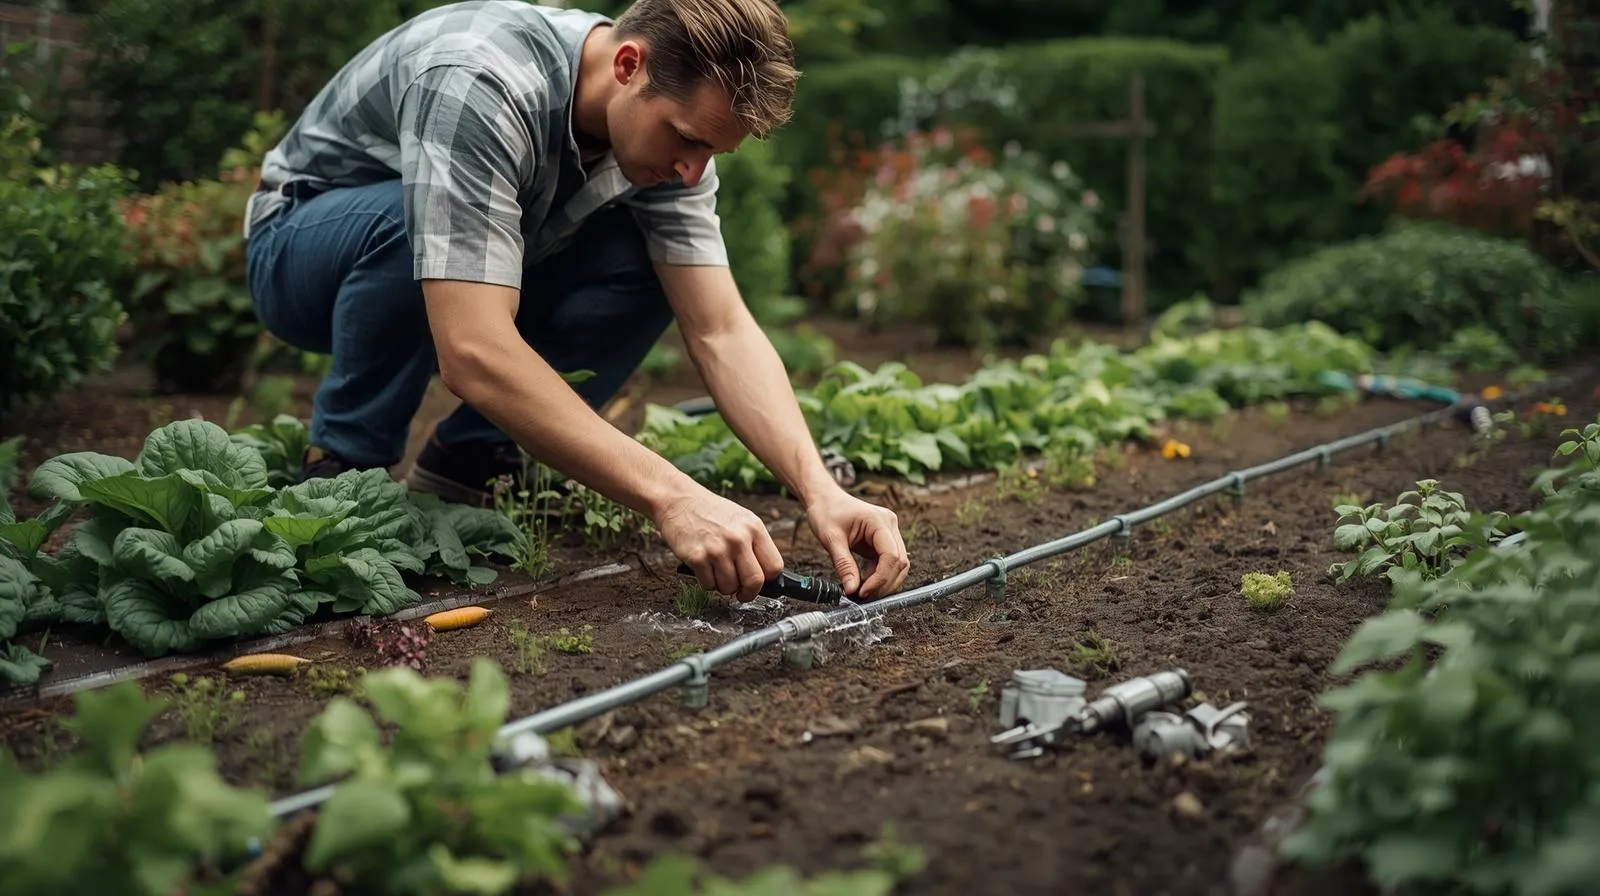
How to Install a Drip Irrigation System
Step 1 – Plan Your Layout:
Decide which plants need water and map tubing routes.
Step 2 – Connect to Water Source:
Attach the mainline to a faucet or garden hose.
Step 3 – Lay Tubing:
Run tubing along rows of plants or garden beds.
Step 4 – Install Emitters:
Place drippers near plant roots, adjusting flow as needed.
Step 5 – Add Filter & Timer:
Prevent clogs and automate watering schedules.
Step 6 – Test & Adjust:
Run water to check flow and adjust emitter placement.
Maintenance Tips for Drip Irrigation
- Check for clogged emitters regularly.
- Flush the system seasonally to remove sediment.
- Replace damaged tubing or connectors.
- Adjust emitters as plants grow or seasons change.
- Winterize system if in cold climates.
Cost Considerations
| Component | Average Cost |
| Main Tubing | $0.10–$0.50 per ft |
| Emitters | $1–$3 each |
| Filter | $10–$25 |
| Timer | $20–$50 |
| Total Setup (Small Garden) | $50–$150 |
Note: Prices vary by garden size, emitter type, and automation features.
FAQs
Q1: Can I install a drip irrigation system myself?
Yes, with basic tools and a simple layout, DIY installation is possible.
Q2: Is drip irrigation suitable for all plants?
It works best for vegetables, flowers, shrubs, and small trees.
Q3: How often should I water with a drip system?
Depends on plant type and soil, but generally 20–30 minutes every 1–2 days.
Q4: Can I add fertilizer through drip irrigation?
Yes, using a fertilizer injector or soluble fertilizers.
Q5: How long does a drip system last?
With proper care, tubing and emitters can last 5–10 years.
Pro Tip
Start with a small section of your garden to test placement and water flow. Gradually expand your drip irrigation system for maximum efficiency.